To set yourself up for success in breakaway roping—and to make it manageable to teach as well—you can break the sport into five key elements. Those elements are position, scoring, power, tip and follow-through. In this article, I’m going to explain how you can work on each fundamental on its own, then put them all together to make fast, fun runs.
1. Position
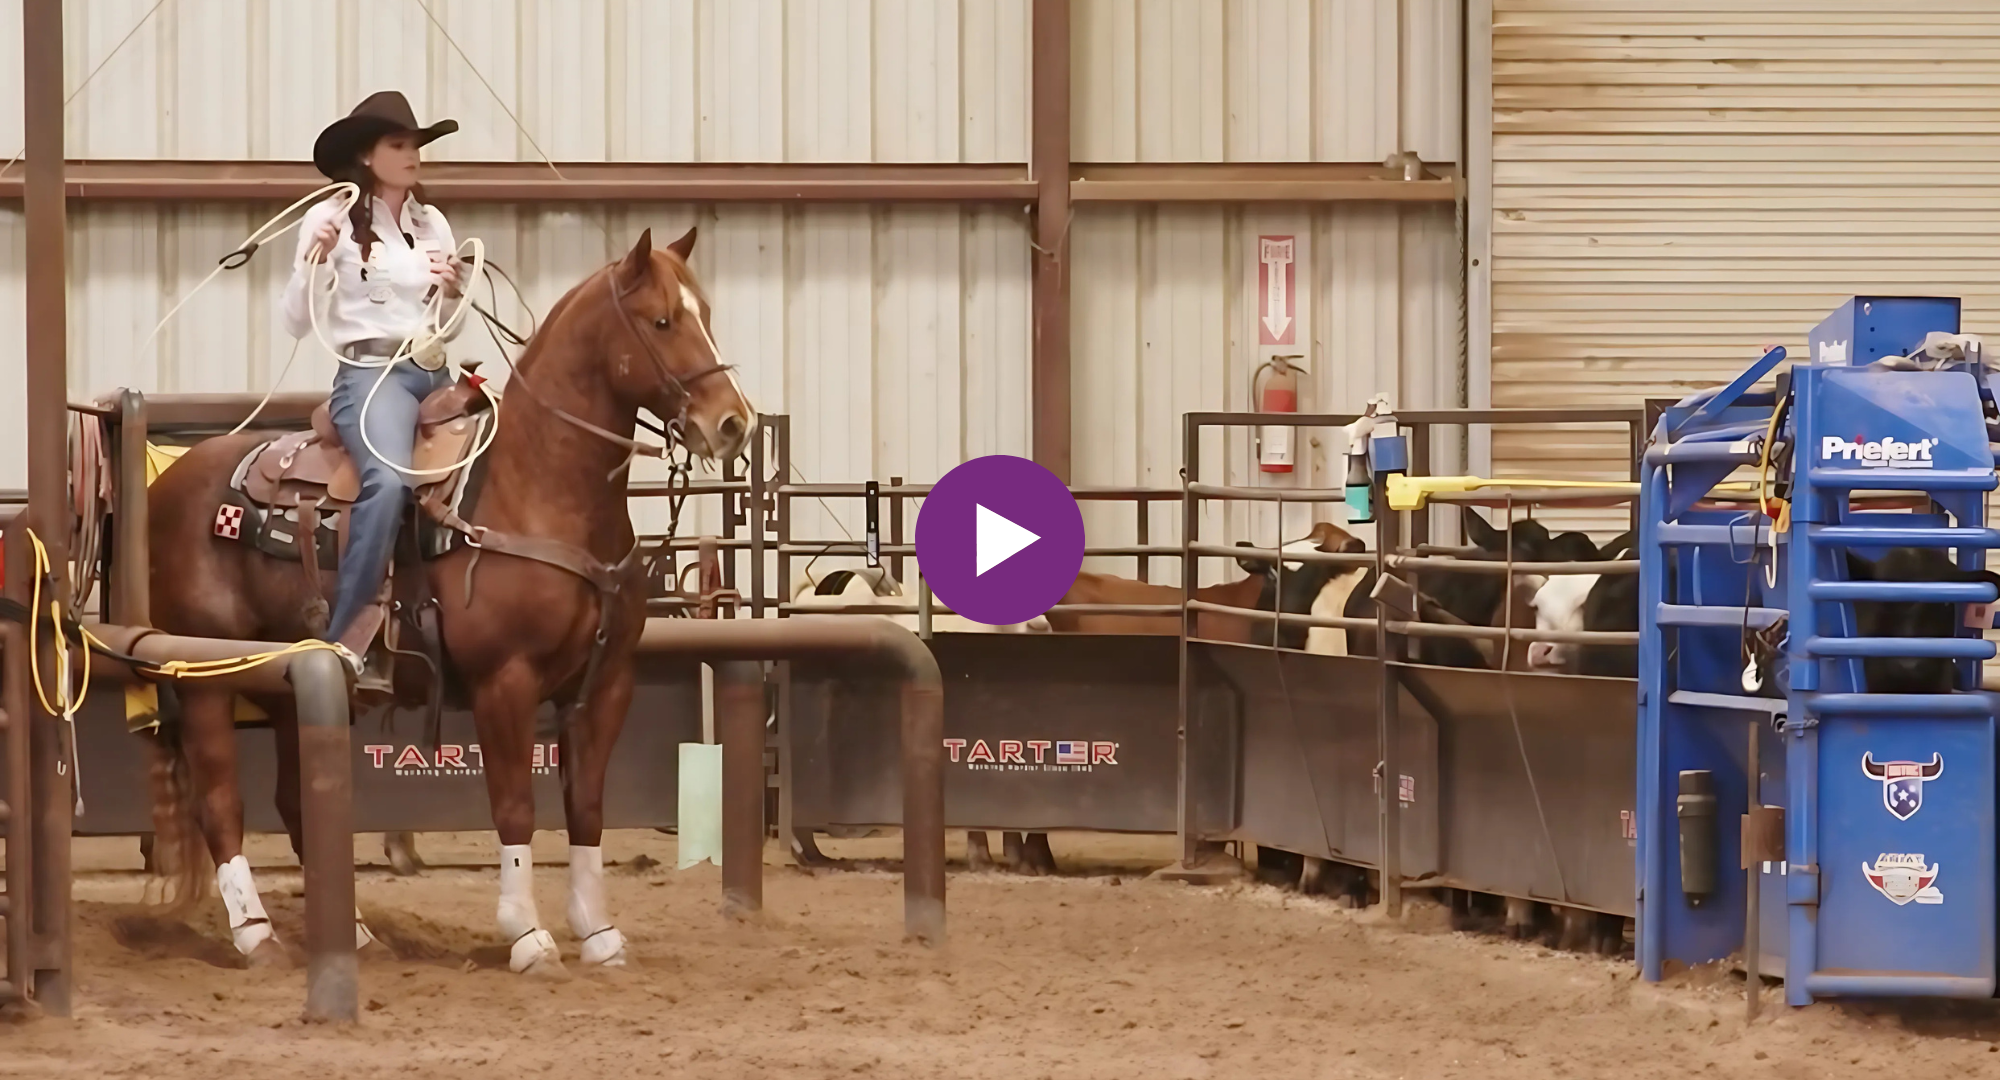
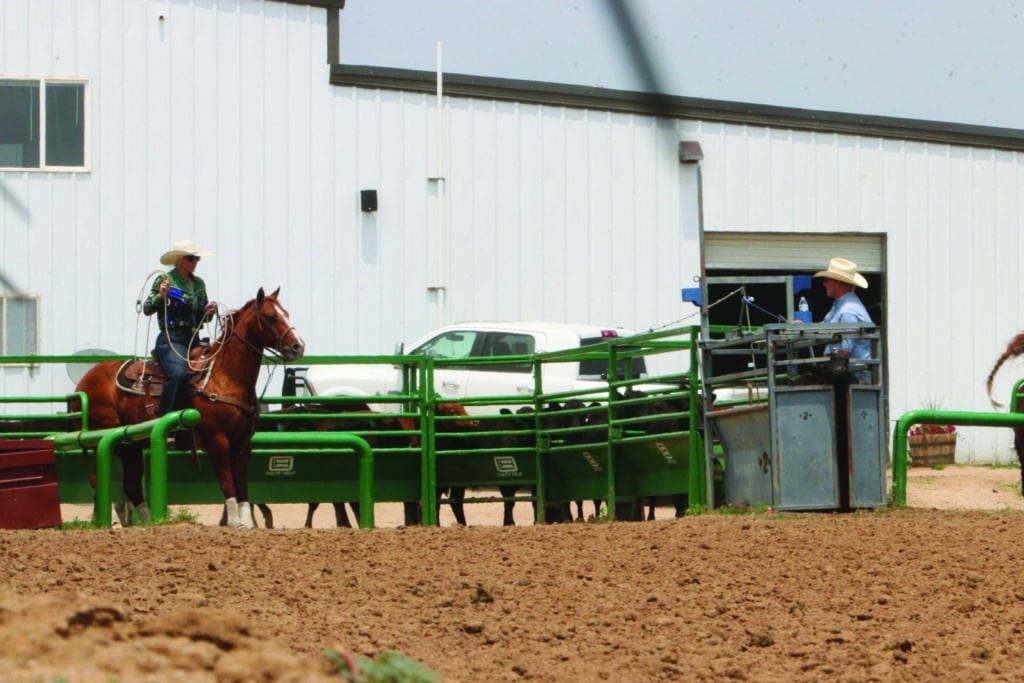
Breakaway roping gets faster and faster as the sport continues to grow, so being in a position leaving the box to set up a fast throw is more critical than ever. In this photo, I’m standing in the corner of the box to show you that this is where you want your horse to be. You want your horse to be positioned toward the pin. The pin is important because that is where the barrier is going to pull from, so you want to take the fastest line from the corner to the calf.
I want my horse’s chest to be pointed towards the pin, because that is going to give me the most effective start, which is the second element of breakaway roping that I will get to next.
You’ll notice the red stick 3 feet in front of the chute. That is where l want my horse to pick up the calf that comes out of the chute. The reason it’s 3 feet in front of the chute is because that is about the length of the calf, if the calf goes a full calf length. My horse needs to pick the calf up about three-feet in from of the chute in nearly every situation. The shortest distance between two points is a straight line, so, when I’m coming out of the box, I want to give myself the fastest opportunity to throw. It doesn’t matter if the start is 20 feet, like Cheyenne, or if it’s really short—like 4- or 5 feet under, like at Northside—l want my horse to pick up the calf directly in from of the chute, because that’s going to give me my highest-percentage shot.
I want my horse to pick thar calf up right off the right hip and follow in right behind him with a little bit of crossover. Not too far to the left. Just right off that right hip, so that I can see and catch my calf.
2. Scoring
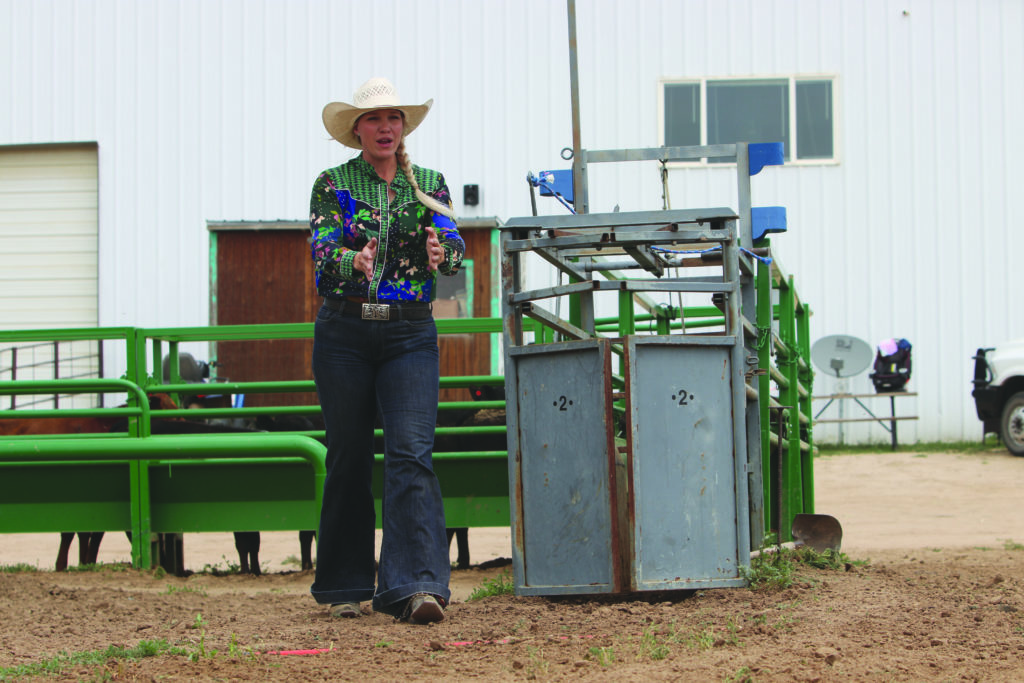
The second step in the five-step process to breakaway roping is scoring. How do you judge your start? Take the measurements of the box, and you decide how many feet less than the measurements of the box that you’re going to be. Generally speaking, it’s usually 3 feet under at a traditional rodeo. Obviously, the elements are going to be a little bit different, depending on where you are.
So, what is the head start that the calf has to have before you go? There’ll be a barrier strung across the box here with a neck rope tied to the calf. Once the calf breaks the neck-rope, this barrier will pull, so it’s so important to be in a good position to score. The basic start is going to be the calf’s head around the end of the gate or one step out of the gate.
Now, some people see the start differently. Some people look at the pin, where the pin is and the position of the calf on the pin. Some people look out the end of the gate. Me, personally, I look at the end of the gate because I want to watch the cattle. I want to watch what my target is, which is another step and where it’s going. If I’m backed in the box, I’m going to see the full head around the end of the gate. And that’s what’s going to give me the fastest start.
3. Power
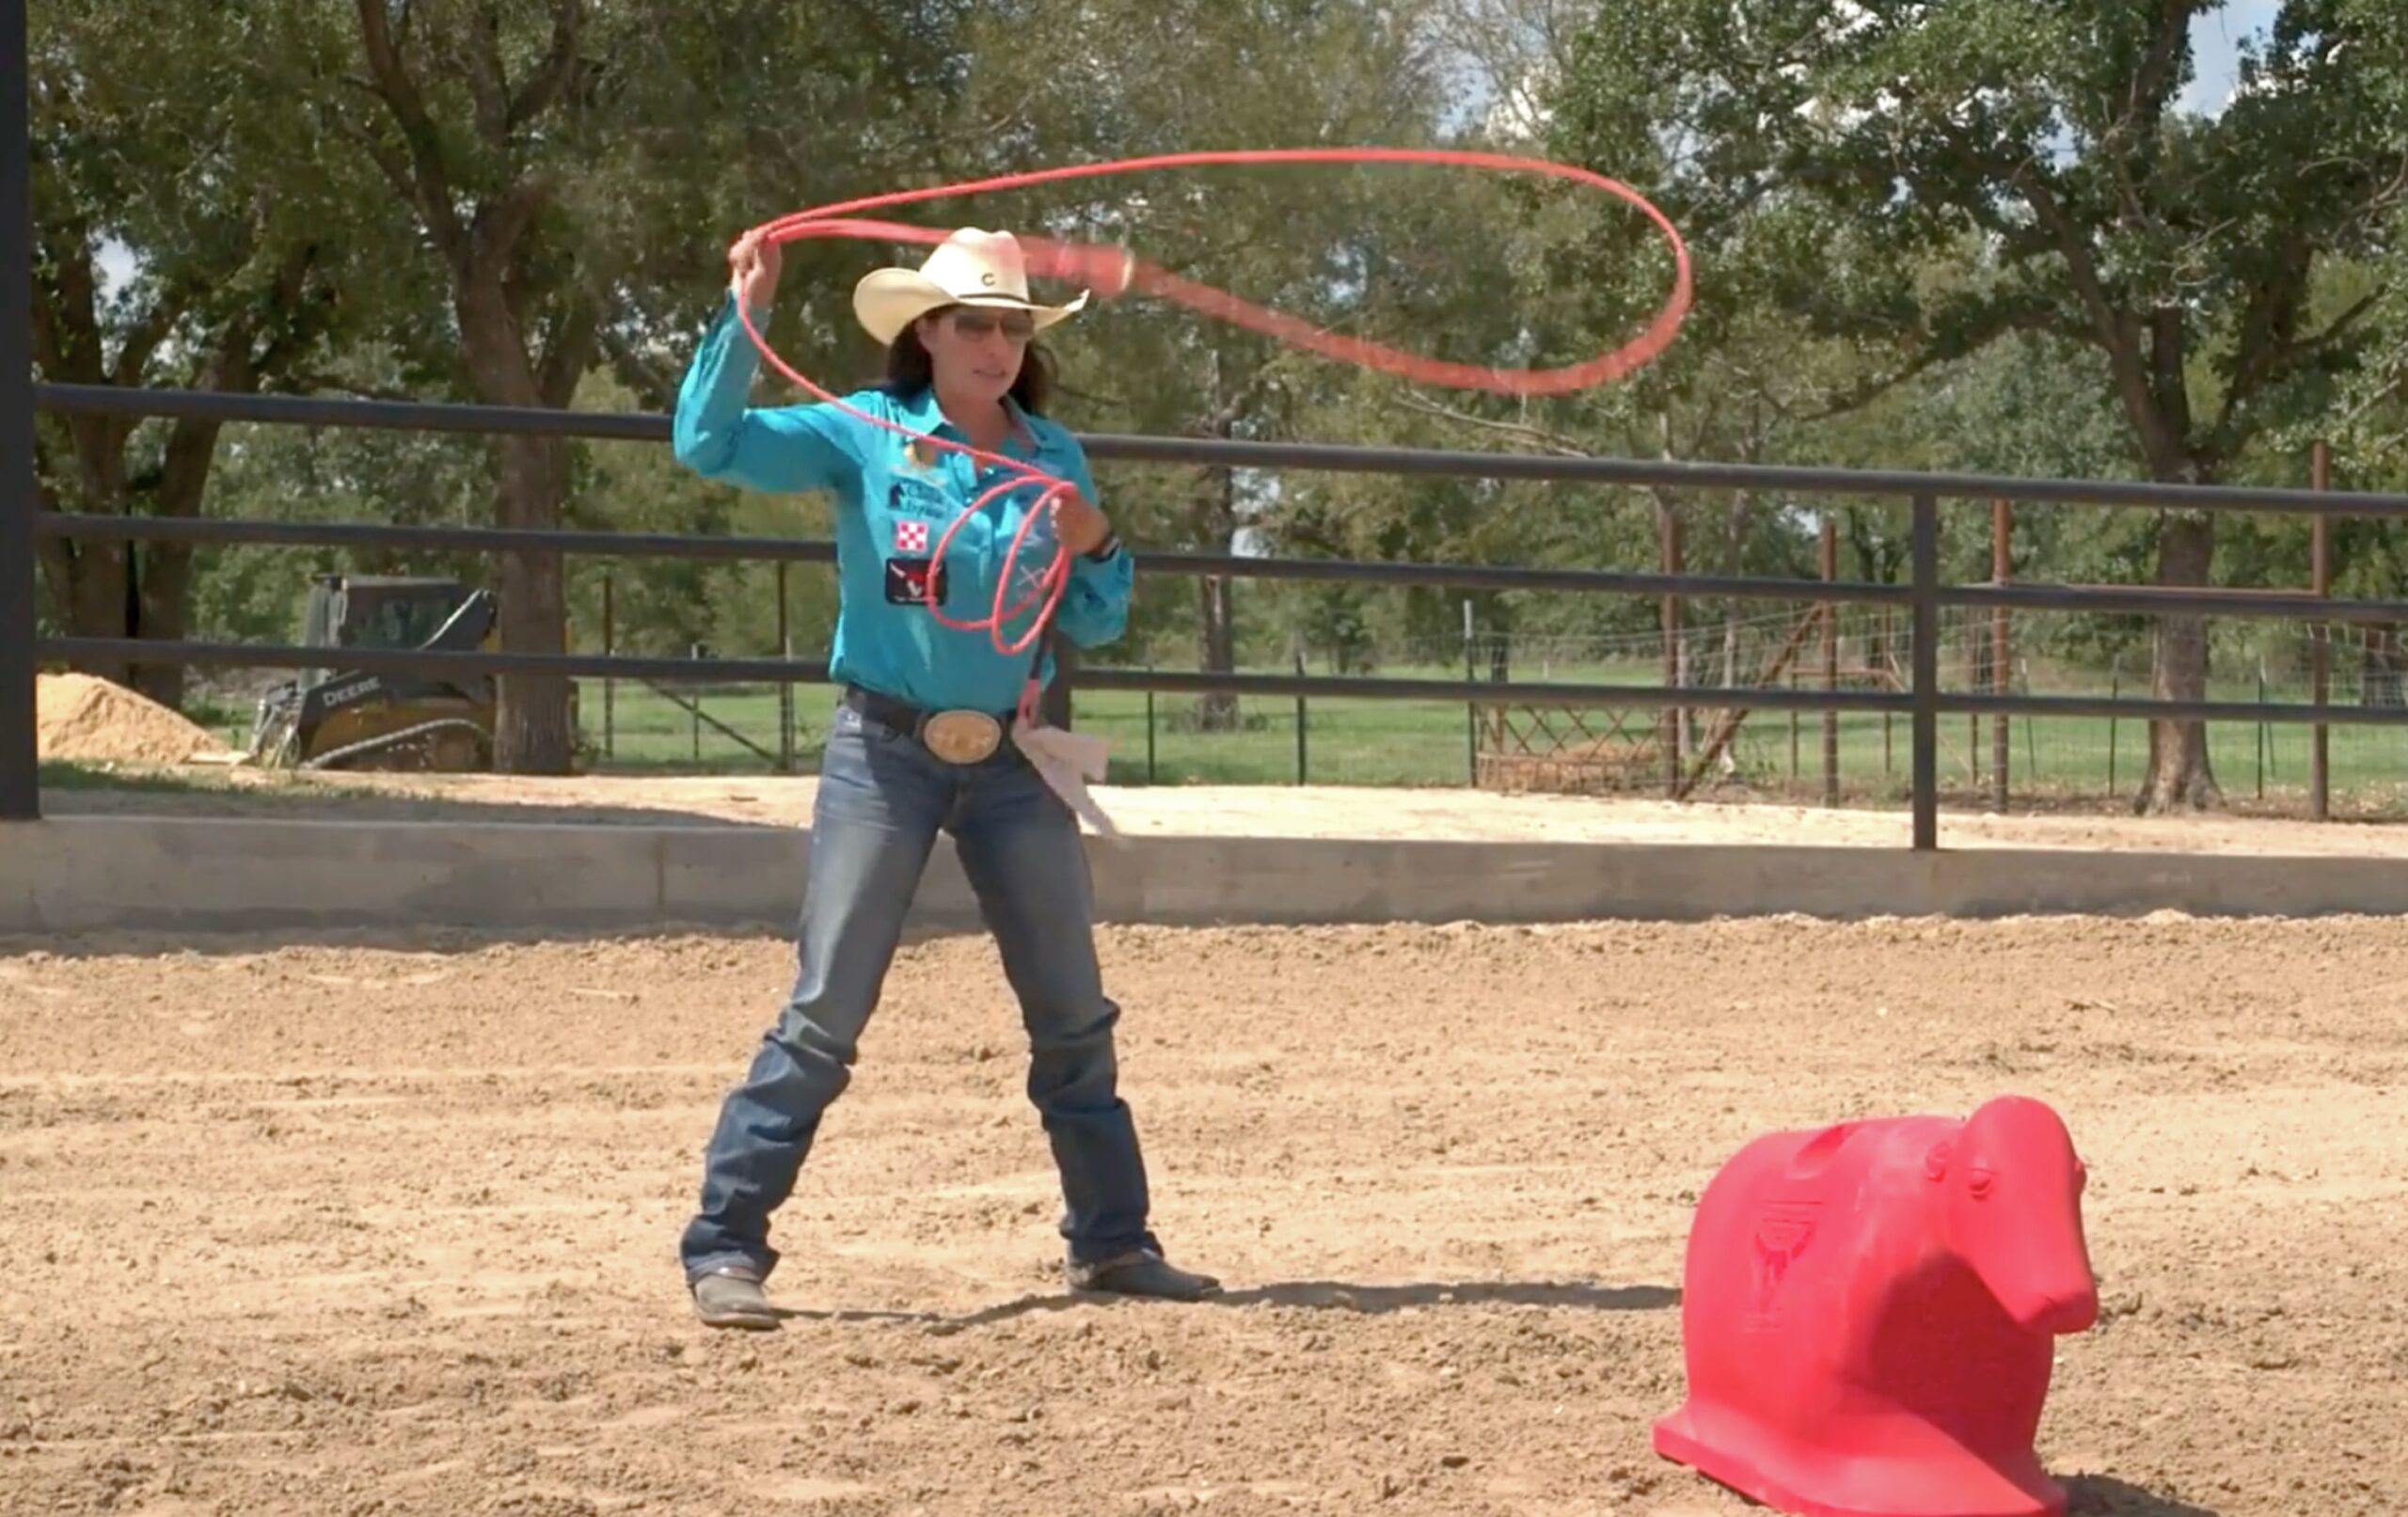
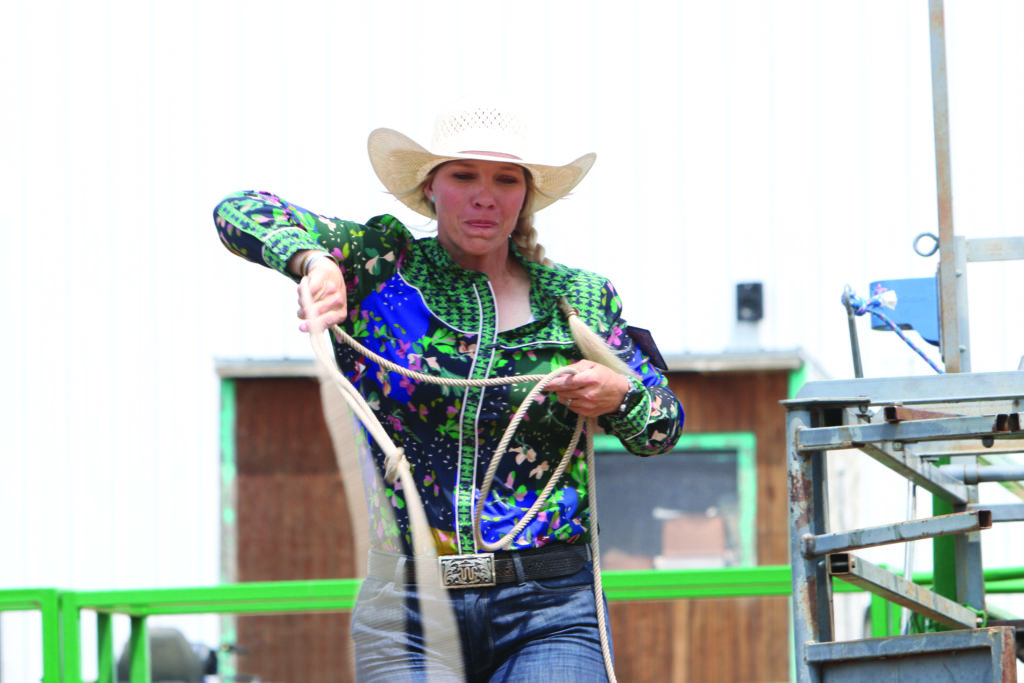
When I say power, I mean power in your swing. We don’t have to be physically as strong as men, but the most effective way to get power on our rope is to use our entire arm. I’m going to get power from pushing my rope out in front of my head and then pulling my rope back behind me and bringing my base back. If I just use my wrist, I can’t use my whole arm.
4. Tip
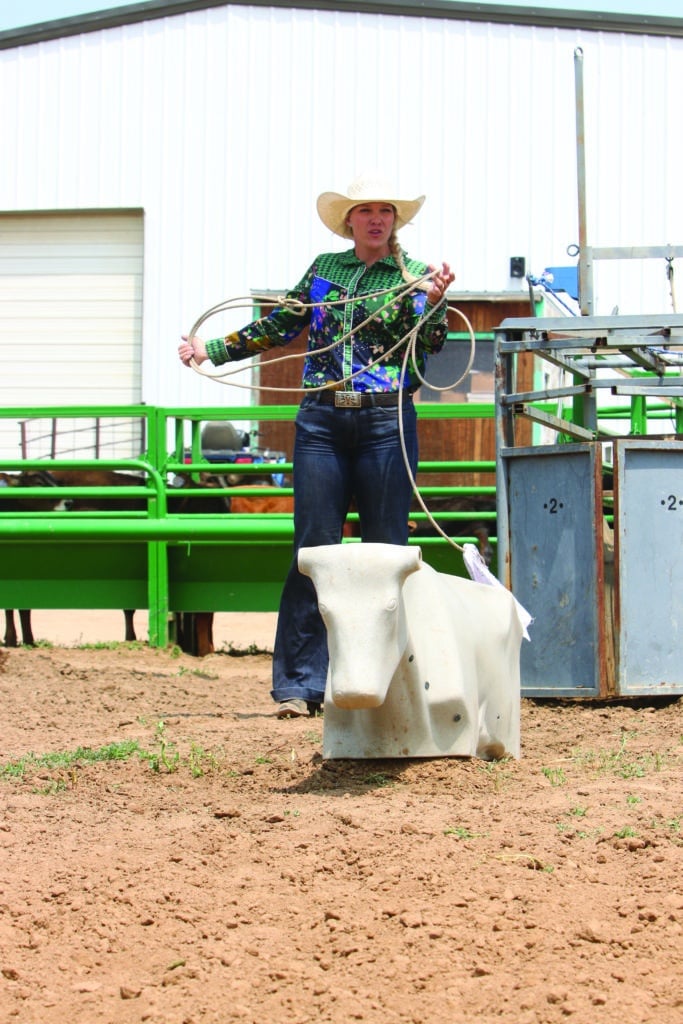
The tip is the bottom of your rope, opposite your hand. As the heaviest part of your rope, the power of your swing is going to come from pulling that tip behind your head. The weight of the rope is what’s going to make your tip go to where you want it to go.
I look at the base of the neck, and that’s the target at which I want the tip of my rope consistently pointing—where the calf’s neck and shoulders come together. So, every time I’m swinging my rope, whether I’m on a horse and my calves are running to the left or to the right, my tip is to my target.
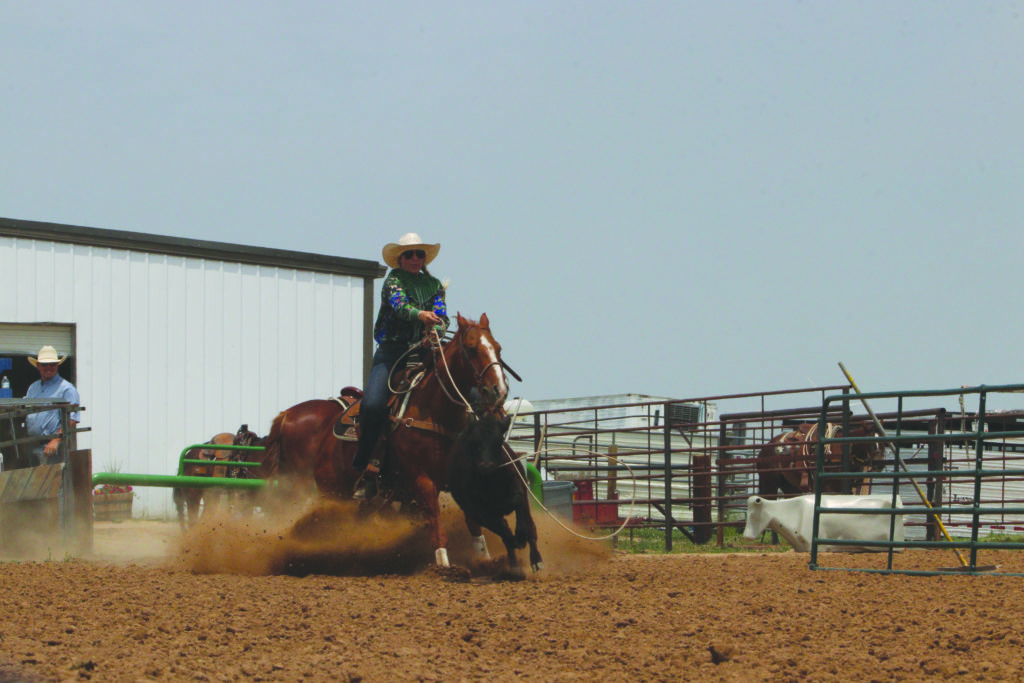
5. Follow Through
Follow through is important because, in the breakaway roping, it’s bell-collar catch only. In order to have a time in the breakaway, the loop has to be right around the neck. You can’t have a hind leg, a tail, half a body, a flank, anything—it has to be right around the neck.
So this fifth step, the follow-through, is what’s going to help you make your rope come around and come tight around the neck.
I want you to march your tip to your target, and your left hand is going to be pointed to the calf. And when you deliver, you want your left hand ro come across to your right hand, which is going to push your tip around and come back.
A good follow-through will save you, say, if you miss your slack. A good follow-through will help you with that. So, when I say, “Follow through,” push that rope so it figure-eights around the neck. Make your hands meet, then pull your slack.
THANKS, COACH
Linsay Sumpter—who coaches for Otero Junior College in La Junta, Colorado—provides online breakaway roping instruction through breakawayroping.com. Use her promo code LINSAY15 for 15% off a membership, with all access to hundreds of videos of breakaway roping instruction from the best in the world.


