Kelsie Domer is a world-class breakaway clinician and reigning World Champion, so she’s well-versed in teaching beginners the basics in breakaway roping.
Everyone has to start somewhere. A good base of knowledge on the how, what, when, where’s of your loop and swing is crucial – Domer will help you with it all.
From coiling up your rope to your delivery and everything in between, Kelsie breaks down each of the five building blocks every roper ought to know before moving to live runs. Watch the full video on Roping.com.
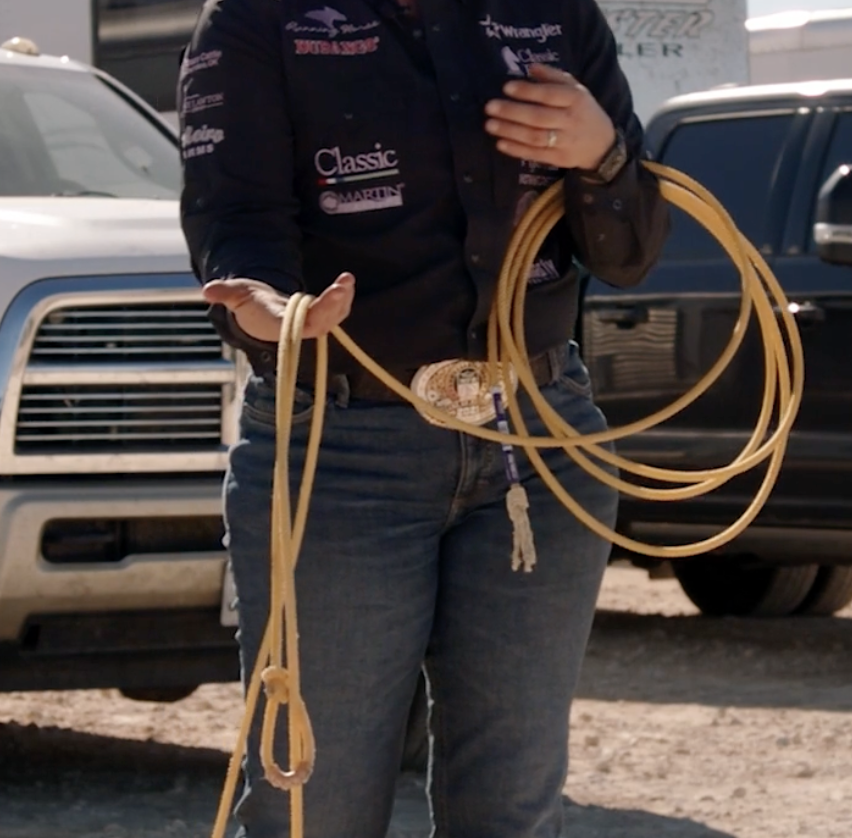
1. How to coil your rope
Every detail matters if you’re looking to be good at any sport, and coiling your rope is no exception. Domer walks you through exactly how she does it.
“I’m going to try to make them the same size and I’m going to bring them back to my hand every time to coil them up.”
Watch the full video on Roping.com
2. How to determine loop size
Domer shows you a good beginner trick to gauge the size of your loop and keep it consistent.
“A good thing to think about for loop size: if I step on the bottom of the loop and bring that loop to my armpit, that is a pretty good starting point. That size of loop kind of works for everybody, you know, it can change a little bit, but that’s a good starting spot, for sure.”
Watch the full video on Roping.com
3. How a rope should lay in your hand — strand control
How you hold your rope and how it lays in your hand makes all the difference. Domer explains the most efficient way to do it.
“I am going to hold that rope with my fingers. My pointer finger and my thumb is going to control the front half of my rope and my pinky is going to control the bottom half of my rope.”
How the rope should lay in your hand
Watch the full video on Roping.com
4. The Swing: arm position and swing motion
The perfect swing can be a complex skill to master – Domer keeps it simple with the dos and don’ts. Your arm, elbow, and wrist all must come together to make it work.
“My elbow is going to move back and forth, my forearm is going to rotate in a circle, and my wrist is going to rotate with my thumb and my fingers coming down every swing. I don’t want to get [my elbow] low, I want to keep it either level or a little higher. In those swings, you’re going to come in front first, come behind, and rotate in a counterclockwise motion.”
Basic Swing Motion
Watch the full video on Roping.com
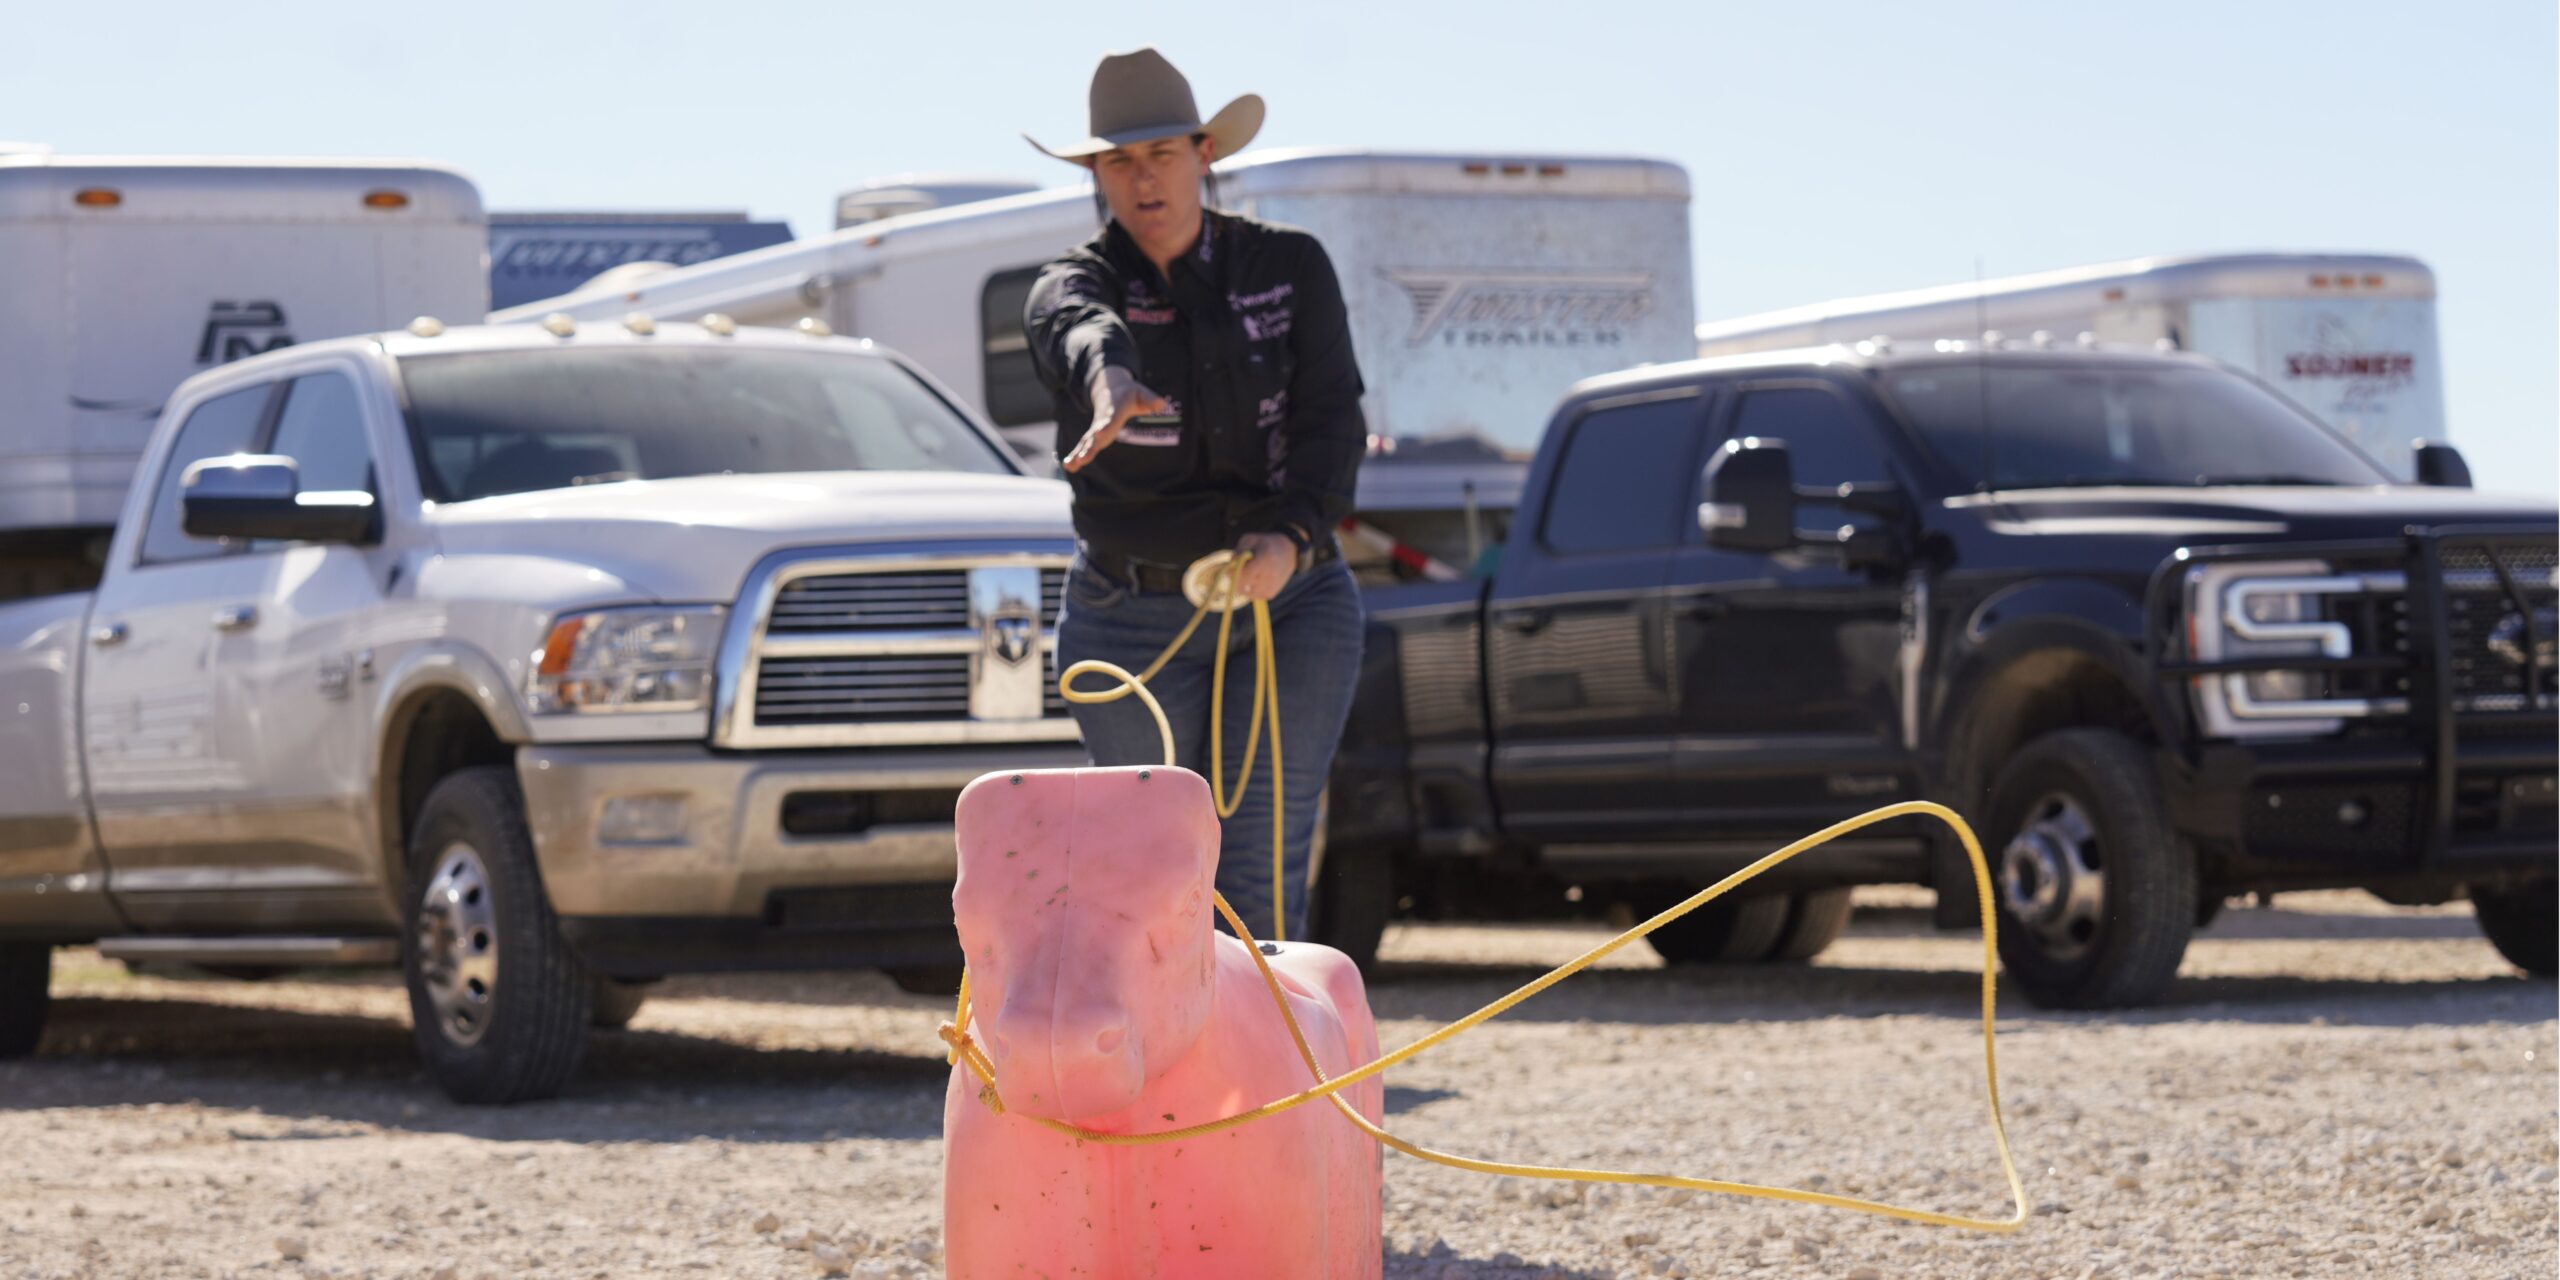
Bonus! A drill for tip control
Domer shows you a beginner-friendly drill to learn how to control the tip of your rope
“A really good drill I do for beginners: I am going to make my loop go all the way out. You’re going have to try to swing this around. It’s a little trickier than it looks because the weights on the end. But if you can swing that around…do all these different things, that’s going to give you a feel of how your loop and your swing should feel when you build your loop.”
Watch the full video on Roping.com
5. The Delivery: Where to aim and release your loop
Now it’s time to tie it all together and throw your rope-Domer shows you where and how to aim and exactly how your rope should hit the calf’s neck.
“When I deliver my rope, both strands have to come out of my hands-just like throwing a ball or whatever it may be. Both strands have to go to my target. The right side of the neck: that’s my target. The part that’s in my hand is going to hit that target, the bottom strand is going to go under the neck, the top strand’s going to stay on the top side, and it is going to curl around. When I deliver, my hand is going to finish like I would be able to grab this calf by the neck.”